Are you tired of chunky, uneven ice ruining your smoothies and cocktails? Mastering the right blender ice crushing techniques can change everything.
With the right tips, you’ll get perfectly crushed ice every time—smooth, consistent, and just how you like it. Whether you’re making a refreshing drink or blending frozen treats, knowing how to crush ice properly saves you time and keeps your blender in top shape.
Keep reading to discover simple tricks that will elevate your blending game instantly.
Choosing The Right Blender
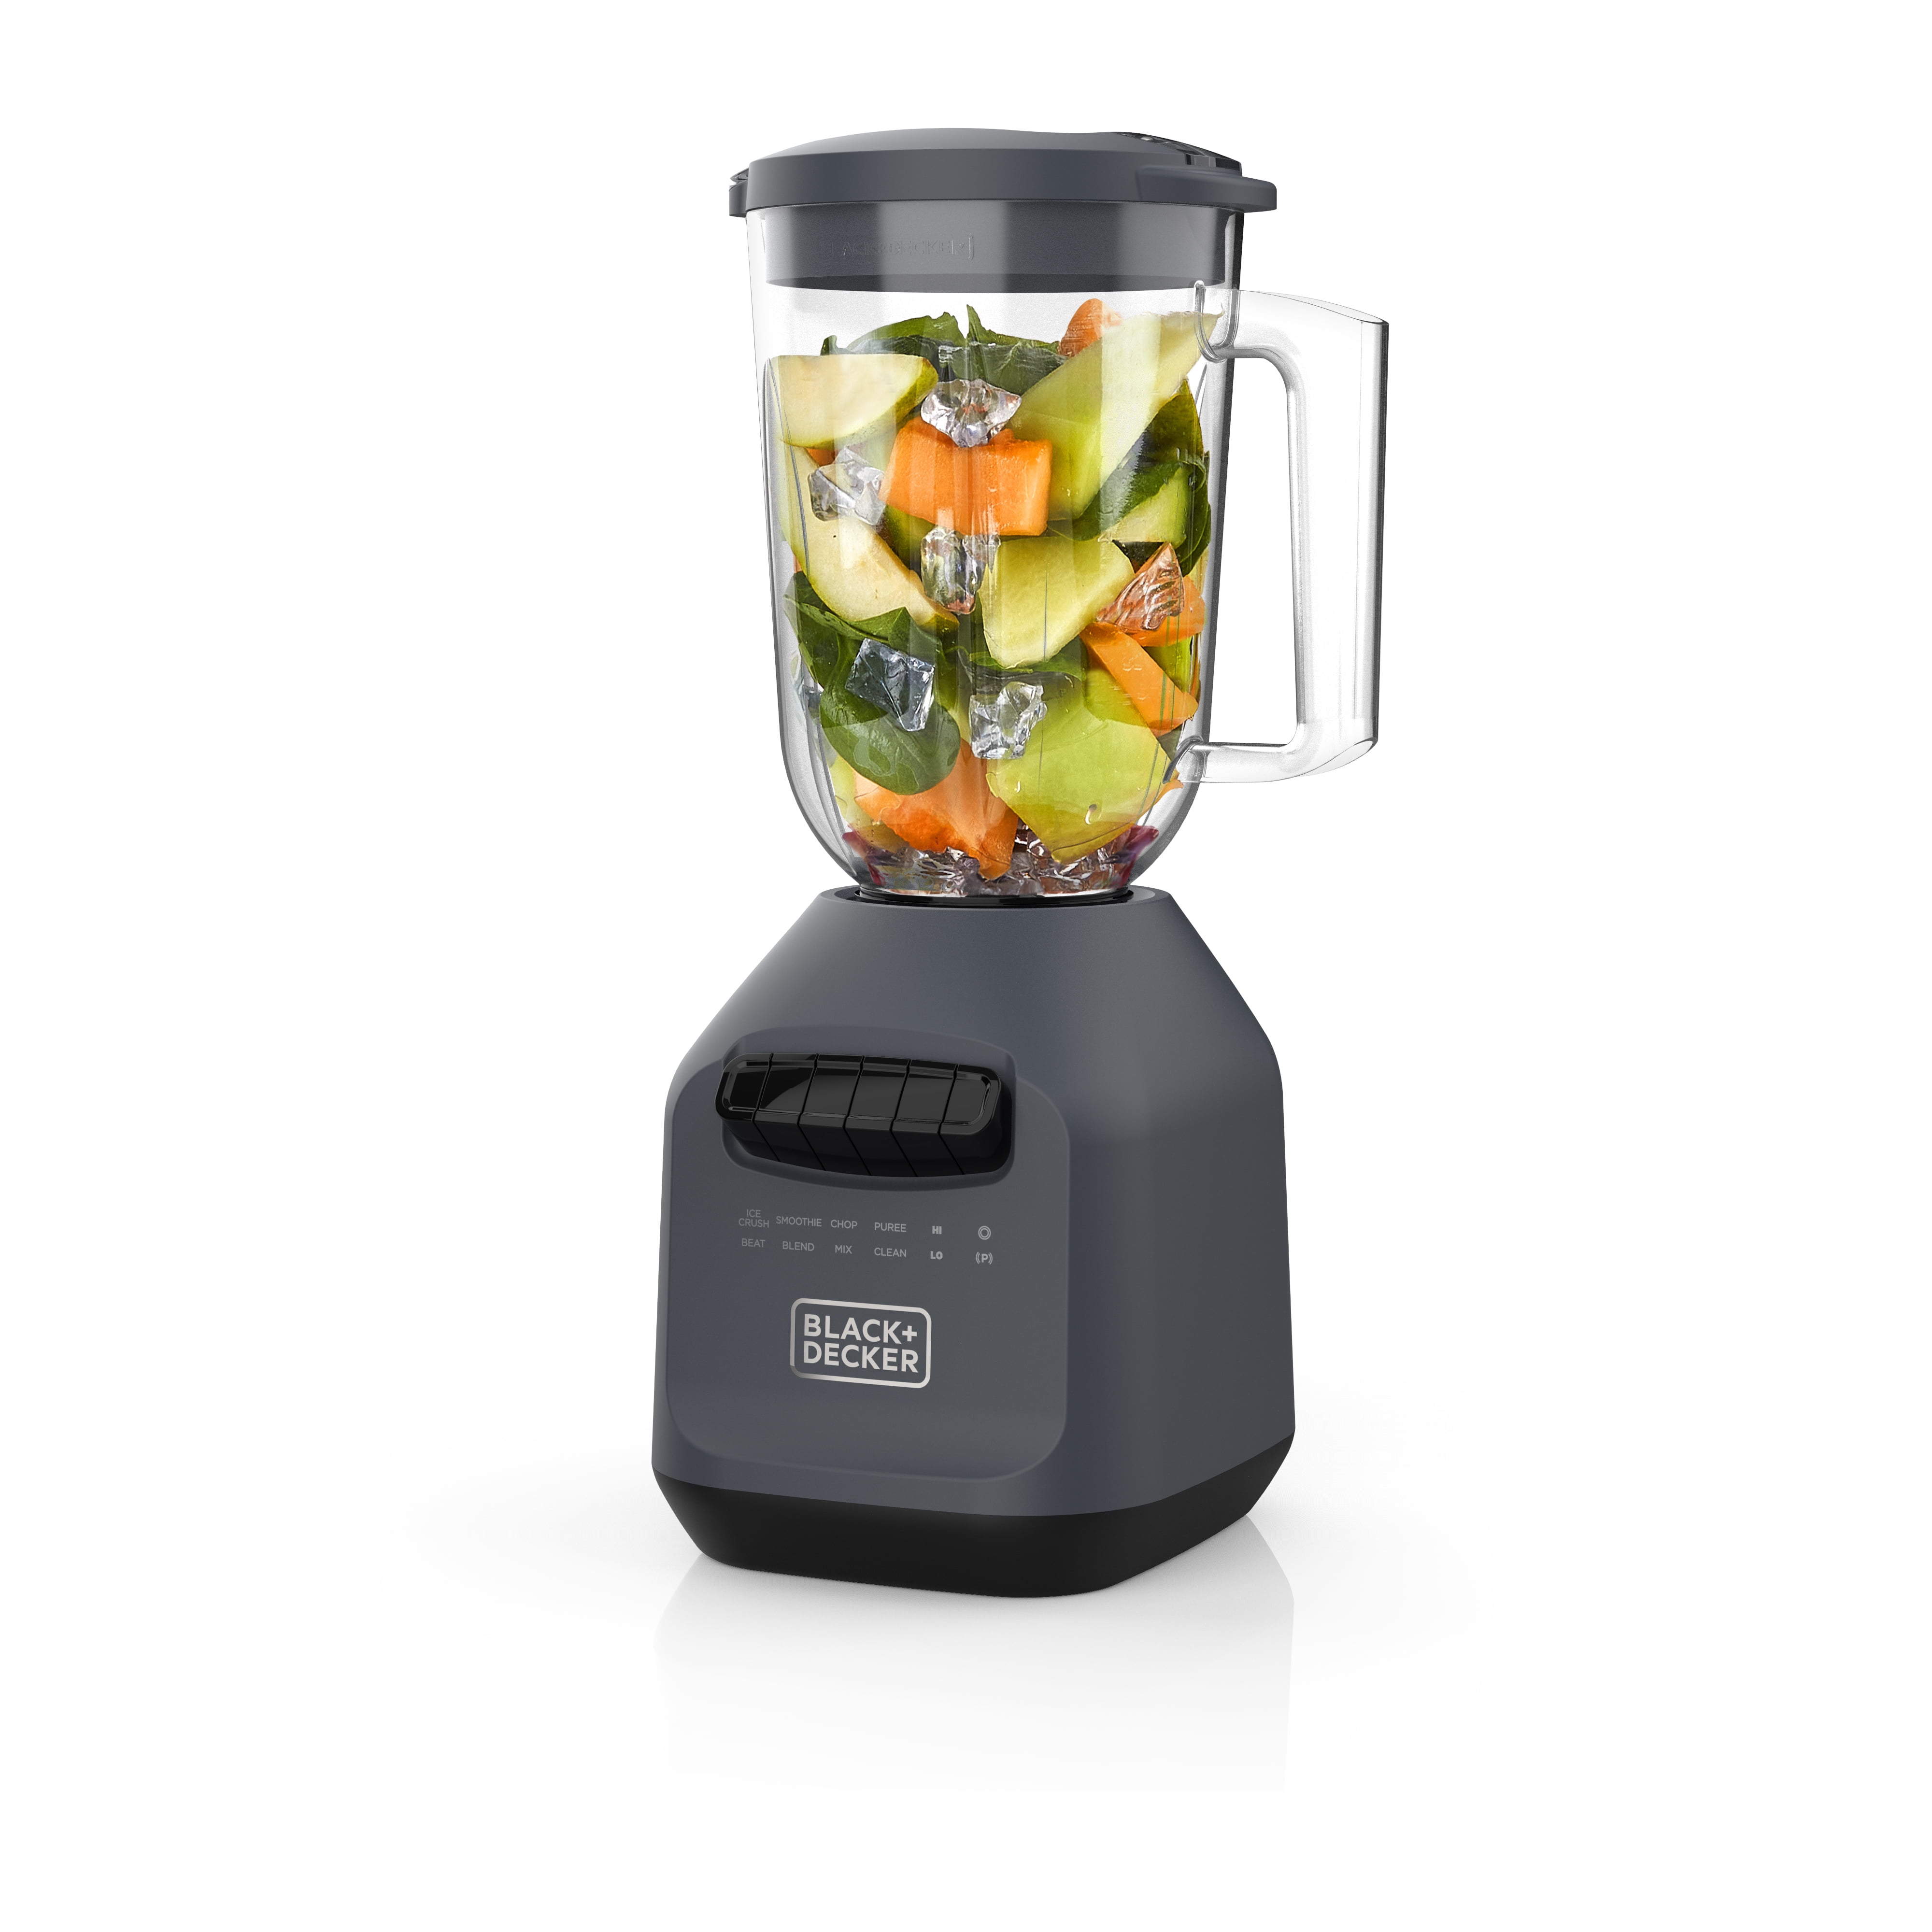
Choosing the right blender is key for crushing ice well. Not every blender can handle hard ice cubes. Some blenders struggle or break down quickly. Picking the right one saves time and effort. It also gives smooth, even crushed ice every time. Focus on three main parts of a blender. They affect how well it crushes ice.
Power And Motor Strength
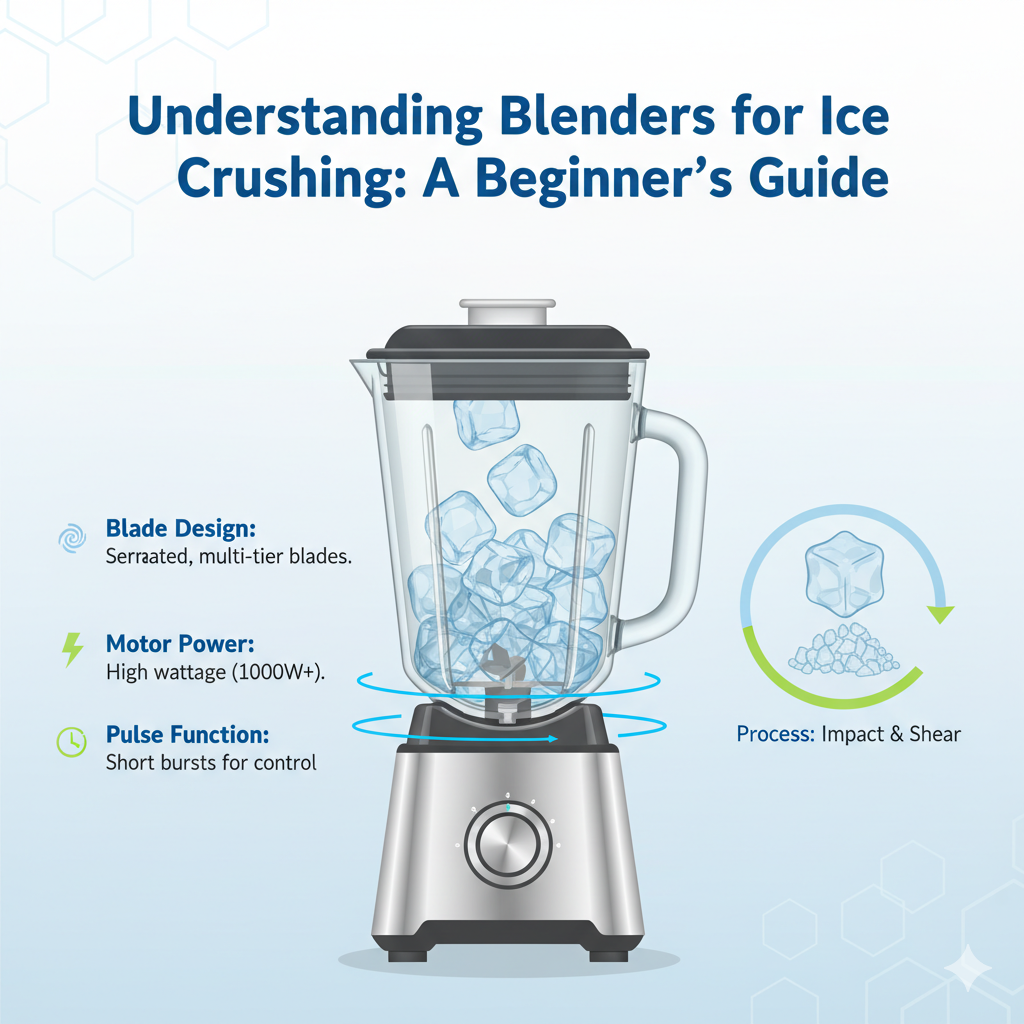
Strong power helps crush ice fast and smooth. Look for blenders with at least 500 watts. More watts mean more motor strength. A weak motor may overheat or stop working. Strong motors keep blades spinning through tough ice. This makes crushing easier and faster.
Blade Design And Material
Sharp, sturdy blades cut ice better. Stainless steel blades resist rust and stay sharp longer. Blades with more edges crush ice into smaller pieces. Blades that are thicker and stronger avoid bending. Blade shape also changes how ice is crushed. Look for designs made for ice crushing.
Capacity And Size Considerations
Choose a blender size that fits your needs. Small blenders are good for personal use. Large blenders work well for parties or families. Bigger jars hold more ice at once. Make sure the jar is strong and safe for cold items. Size affects storage space too.
Credit: www.ubuy.co.it
Types Of Ice For Crushing
Choosing the right type of ice is key for good crushing results in a blender. Different ice forms affect texture, taste, and blender performance. Understanding these types helps you get the best crushed ice for drinks and recipes.
Cubed Vs. Crushed Ice
Cubed ice is solid and large. It takes more time to crush. It works well for strong blenders and long blending times. Crushed ice is smaller and easier to blend. It cools drinks faster and mixes well. Choose crushed ice for smoothies and frozen drinks.
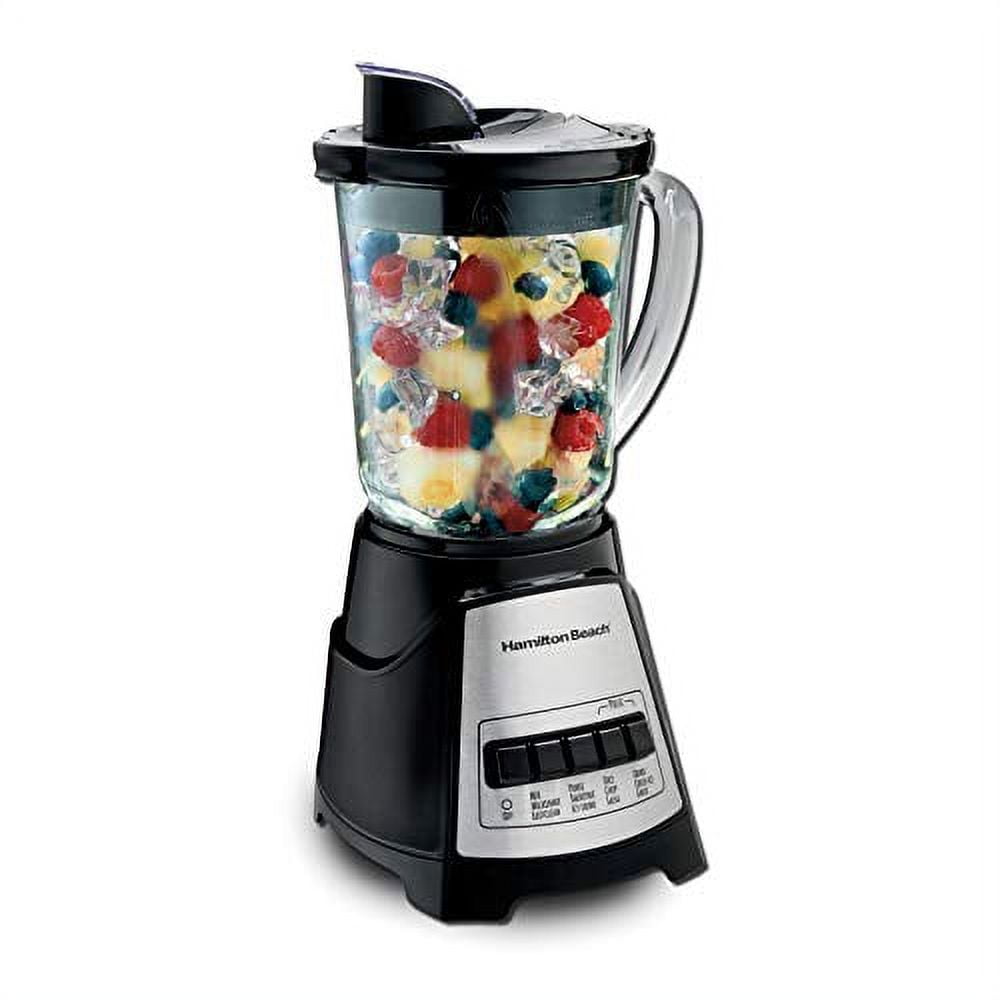
Frozen Fruit As Ice Alternatives
Frozen fruit can replace ice in many recipes. It cools and adds flavor without watering down drinks. Use berries, mango, or pineapple for a fresh taste. Frozen fruit also blends smoothly and adds nutrition. Great for smoothies and healthy drinks.
Ice Quality And Temperature
Clear, fresh ice works best for crushing. Cloudy or old ice can affect taste and texture. Ice should be very cold for easy crushing. Warm or soft ice clumps and strains the blender. Store ice in the freezer until use for best results.
Step-by-step Crushing Process
Crushing ice in a blender might seem simple. Yet, doing it right keeps your blender safe and your ice perfectly crushed. Follow these clear steps to get the best results every time. This process helps you avoid big chunks or too much water.
Start with clean tools and clear steps. This method works well for drinks, smoothies, and cold desserts.
Preparing The Blender Jar
Begin by checking the blender jar. Make sure it is clean and dry. Any leftover food or liquid can change the ice texture. Place the jar on a flat surface. This prevents spills and keeps the blender steady. Remove the lid to add ingredients easily.
Adding Ingredients In Order
Put ice into the jar first. This helps the blades crush ice efficiently. Add small amounts to avoid overloading. Next, add any liquids or soft ingredients. Liquids help the ice move around the blades. Avoid putting heavy or thick ingredients first. This can block the blades and cause damage.
Pulse Vs. Continuous Blending
Use the pulse mode to crush ice in short bursts. This prevents the blender from overheating. Pulsing also lets you check the ice size. Stop and shake the jar if needed. Continuous blending can overheat the motor. It may also turn ice into water fast. Pulse for best control and ice texture.
Credit: www.ubuy.do
Techniques For Smooth Texture
Getting a smooth texture when crushing ice in a blender takes some skill. Using the right methods helps the ice break down evenly. This makes drinks and recipes feel creamy and soft, not chunky or rough. Small changes in how you blend can improve the texture a lot.
Focus on three main points for better results: the liquid base, how long you blend, and protecting your blender’s motor. Each step matters for smooth ice crushing.
Using Liquid Bases Effectively
Adding liquid helps ice blend smoothly. Water works well, but fruit juice or milk can add flavor. Use enough liquid to cover the ice but not too much. Too much liquid makes the mixture watery. The right amount lets the blades move freely and crush ice finely.
Blending Duration Tips
Blend ice in short bursts instead of one long spin. Stop and shake the blender a few times. This moves ice pieces to the blades for even crushing. Blending for about 20 to 30 seconds usually works best. Over-blending can make ice melt too much and lose texture.
Avoiding Overheating The Motor
Crushing ice can strain your blender’s motor. Give it breaks between blending sessions. Overheating can damage the motor and reduce performance. Use pulse mode if your blender has it. This helps control power and avoids heat build-up. Cool down the motor to keep it working well.
Troubleshooting Common Issues
Blending ice can sometimes cause issues that slow down your process. Knowing how to fix these problems saves time and stress. This section helps you handle common blender ice crushing troubles easily.
Handling Stuck Blades
Blender blades can get stuck by hard ice pieces or other ingredients. Stop the blender and unplug it first. Use a wooden spoon or spatula to gently free the blades. Avoid using your fingers to prevent injury. Adding a little water can help the blades move smoothly again.
Dealing With Chunky Ice
Chunky ice means the blender did not crush all ice evenly. Try pulsing the blender in short bursts. This breaks large pieces into smaller chunks. Add small amounts of water to improve the blending process. Avoid overfilling the blender jar. This allows the blades to work better on each piece.
Motor Overload Prevention
Blending large amounts of ice can cause the motor to overheat. Use short blending sessions with breaks in between. Do not run the blender continuously for more than one minute. Check the blender manual for maximum load limits. Keeping the motor cool extends the blender’s life and performance.
Credit: medium.com
Cleaning And Maintenance Tips
Keeping your blender clean is very important after crushing ice. Dirt and ice bits can build up quickly. This can make your blender work poorly or even stop working. Regular cleaning helps keep the blades sharp and the motor strong. It also stops bad smells and bacteria from growing.
Removing Ice Residue
After crushing ice, some tiny ice pieces may stick inside. Fill the blender jar with warm water and a drop of dish soap. Run the blender for 20 seconds to loosen the ice bits. Rinse well with clean water. Use a soft brush to clean hard-to-reach spots. Dry the jar before storing it.
Blade Safety And Care
Blades are very sharp. Handle them carefully during cleaning. Avoid touching blades directly with your hands. Use a brush or sponge to clean around the blades. Check blades often for damage. If blades look dull or bent, replace them to keep crushing ice well.
Extending Blender Lifespan
Do not overload the blender with too much ice. Let the motor rest between crushing sessions. Always unplug the blender before cleaning. Store the blender in a dry place to stop rust. Regular cleaning and care keep your blender working longer and better.
Creative Smoothie Recipes
Creative smoothie recipes make ice crushing in your blender fun and tasty. You can mix fruits, veggies, and proteins for different flavors. Blending ice well helps create smooth, cold drinks every time. Try these ideas to enjoy fresh, healthy smoothies at home.
Tropical Fruit Blends
Combine pineapple, mango, and banana for a sweet tropical taste. Use crushed ice to chill the drink without watering it down. Add a splash of coconut water for extra flavor. This blend feels like a mini-vacation in a glass.
Green Detox Smoothies
Use spinach, kale, and cucumber for a fresh green detox. Ice crushed finely mixes well with leafy greens. Add lemon juice and a little ginger for a zesty kick. This smoothie cleanses and refreshes your body quickly.
Protein-packed Options
Mix protein powder with frozen berries and crushed ice. Add some almond milk for creaminess and smooth texture. These smoothies keep you full and help muscle recovery. Perfect for a quick meal after exercise.
Frequently Asked Questions
How Do You Crush Ice Effectively In A Blender?
Use short, pulsing bursts instead of running the blender continuously for smooth crushed ice.
What Blender Settings Work Best For Crushing Ice?
Use the “pulse” or “ice crush” setting to avoid overheating and get even ice pieces.
Can All Blenders Crush Ice Without Damage?
Not all blenders can crush ice; check your blender’s manual for ice-crushing capability.
How Much Ice Should I Add To The Blender?
Fill the blender jar no more than halfway with ice for best crushing results.
How To Avoid Loud Noise When Crushing Ice In A Blender?
Use a blender with sound insulation or pulse the ice to reduce noise levels.
How To Clean The Blender After Crushing Ice?
Rinse immediately with warm water and a drop of soap to prevent residue buildup.
Conclusion
Blending ice well makes drinks taste fresh and smooth. Use short pulses to crush ice evenly. Avoid running the blender too long to keep it cool. Smaller ice pieces blend faster and mix better. Always add liquid to help the blades move.
Try different techniques to find what works best. Good ice crushing saves time and improves your recipes. Practice these tips for better smoothies and cocktails. Keep your blender clean for best results. Enjoy your drinks with perfectly crushed ice every time.
Simple steps make big differences.

Hi, I’m Joshua Miller, a U.S.-based food lover, review writer, and Co-founder of KitchenWink.com. I hold a Bachelor of Science in Food Science and Culinary Technology, and for over five years I’ve been testing kitchen gadgets like air fryers, blenders, and other cooking tools.
I’m also a home cook, so every product I review is tried in real kitchens—not just in theory. My reviews are based on real results, simple fixes, and tips that anyone can use. With both formal training and hands-on testing, I make sure my advice is clear, honest, and practical.
My goal is simple: to help home cooks choose the right tools and make cooking easier every day.