Is your Keurig coffee maker acting up or refusing to brew your favorite cup? You’re not alone.
Sometimes, these handy machines just need a quick reset to get back to brewing perfectly. Whether your Keurig won’t turn on, displays error lights, or seems stuck during the brewing process, knowing how to reset it can save you time and frustration.
In this guide, you’ll discover simple, step-by-step methods to reset your Keurig coffee maker and troubleshoot common issues. Keep reading to get your morning coffee routine back on track without any hassle!
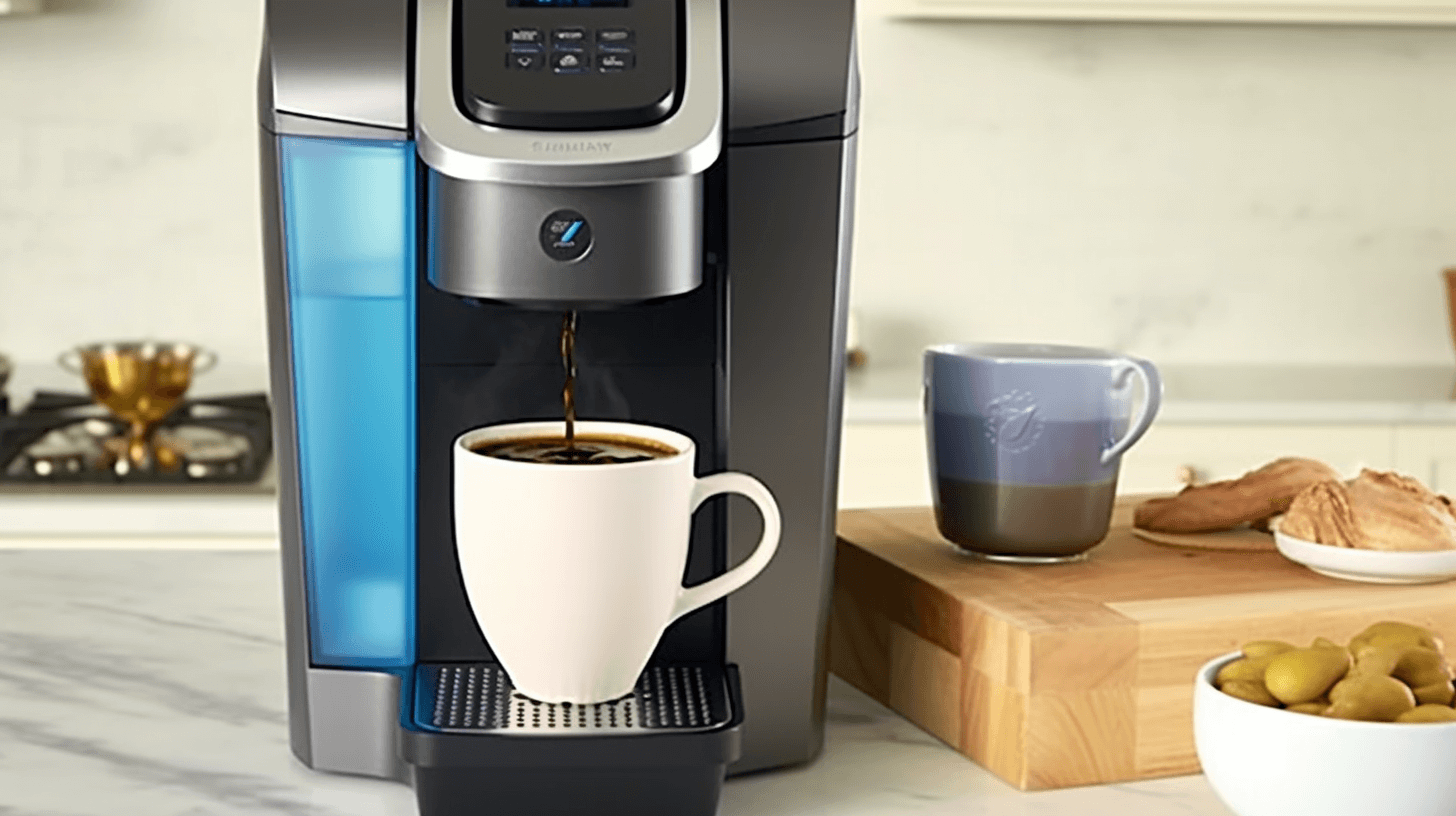
Credit: angelinos.com
How to Perform a Power Reset on Your Keurig Coffee Maker?
Power reset is a simple way to fix many issues with your Keurig coffee maker. It helps clear minor errors and restores normal function. Follow these steps carefully to reset the power and get your machine working again.
Step 1: Unplug Your Keurig and Remove the Water Reservoir
First, turn off your Keurig and unplug it from the power outlet. Removing the water reservoir is important for a full reset. Take out the reservoir and set it aside. This step allows the machine to fully power down.
Step 2: Reconnect Power and Refill the Water Tank
After waiting for 30 seconds, plug the machine back in. Place the water reservoir back in its spot. Fill the reservoir with fresh water up to the max line. Press the power button to turn the Keurig on. Wait until the “add water” light turns off before brewing.
Step 3: Test the Power Outlet and Restart the Keurig
Check if the power outlet works by plugging in another device. This ensures your Keurig is receiving power properly. If the outlet has no power, try a different one. Confirming the outlet is active helps avoid further confusion.

Credit: www.wikihow.com
How to Clear Needle Clogs and Fix Keurig Brewing Problems
Clearing needle clogs is a key step in resetting your Keurig coffee maker. Over time, coffee grounds and debris block the needles. This stops water from flowing properly. Your coffee might taste weak or not brew at all.
Fixing these clogs improves performance. It also helps your machine last longer. Follow these simple steps to clear the needles and get your Keurig working again.
Step 1: Use a Paperclip to Clean Keurig Needles Safely
Unplug your Keurig before starting. Locate the top and bottom needles inside the brew head. Take a straightened paperclip. Gently insert it into the needle holes. Move it around to clear any coffee grounds. Be careful not to poke too hard. This prevents damage to the needles.
After clearing, run water through the machine without a K-Cup. This flushes out loosened debris. Repeat if needed until water flows freely.
Step 2: Remove and Clean the Brew Basket Thoroughly
Remove the brew basket where the K-Cup sits. Rinse it under hot water. Use a soft brush or cloth to remove stuck coffee grounds. Make sure all holes are clear. A clean brew basket prevents clogging and improves taste.
Dry the basket completely before placing it back. This avoids water buildup and mold growth.
Step 3: Remove Air Bubbles to Restore Water Flow
Air bubbles can block water flow inside the machine. Remove the water reservoir. Tap the sides of the Keurig gently. This helps release trapped air bubbles. Wait a few seconds and then replace the reservoir.
Turn the machine on and run a water-only brew cycle. This pushes out any remaining air. Your Keurig should now brew smoothly again.
How to Descale and Reset Your Keurig Coffee Maker (Vinegar Method)
Descaling your Keurig coffee maker removes mineral buildup inside the machine. This buildup affects water flow and coffee taste. Regular descaling keeps your machine working well and extends its life.
Step 1: Prepare a Vinegar and Water Solution for Descaling
Mix equal parts of white vinegar and water. Use enough to fill the water reservoir. Vinegar helps dissolve minerals inside the machine. Avoid using harsh chemicals for descaling.
Step 2: Run Multiple Brew Cycles Using the Vinegar Solution
Place a large mug on the drip tray. Start a brew cycle without a K-Cup. Use the vinegar solution as the water source. Repeat until the reservoir is empty. Pause between cycles to let vinegar work.
Step 3: Rinse the Keurig Thoroughly with Clean Water
Fill the reservoir with fresh water only. Run multiple brew cycles with clean water. This removes any vinegar taste and smell. Keep rinsing until the water runs clear. Your Keurig is now ready to use.

Credit: lifeboostcoffee.com
Additional Fixes: If Your Keurig Coffee Maker Still Isn’t Working
Sometimes, resetting your Keurig coffee maker does not fix the issue. In such cases, trying additional fixes can help restore your machine’s function. These extra steps address common problems that a simple reset might miss.
Check and Reseat the Water Reservoir Seal
Make sure the water reservoir sits tightly on the base. A loose or damaged seal can stop water from flowing. Remove the reservoir and inspect the rubber seal. Clean it gently with a soft cloth. Replace the reservoir firmly back into place. This can solve water flow problems quickly.
Try a Different Power Outlet or Circuit
Power issues might cause your Keurig to stop working. Plug your coffee maker into another electrical outlet. This checks if the original outlet has a problem. Use an outlet where you know other devices work well. If the machine powers on, the outlet was likely the issue.
Contact Keurig Customer Support for Help
If your Keurig still does not work after these steps, reach out to customer support. They can offer expert advice and guide you through advanced troubleshooting. Have your model number and purchase details ready. Customer support can help decide if repair or replacement is necessary.
FAQs: How to Reset and Fix Keurig Coffee Maker Problem
How Do I Force My Keurig To Reset?
To force reset your Keurig, unplug it and remove the water reservoir. Wait one minute, reinsert the reservoir, then plug it back in. Press the power button and wait for the “add water” light to turn off. This clears minor errors and restarts the machine.
Why Is My Keurig Suddenly Not Working?
Your Keurig may stop working due to power issues, clogged needles, air bubbles, or a dirty machine. Unplug, clean, descale, and check the water reservoir. Try a different outlet. Contact Keurig support if problems persist.
How Do I Reset My Keurig From Descale?
Unplug your Keurig and remove the water reservoir. Refill it with fresh water, plug in, and power on. Run several brew cycles without a K-Cup to reset after descaling. Clean needles and check for air bubbles if needed.
Why Won’t My Keurig Brew With The K-cup In Place?
Your Keurig may not brew if the needles are clogged or the K-Cup isn’t pierced properly. Check water reservoir placement and power connection. Clean needles gently with a paperclip and ensure no air bubbles block water flow. Descale the machine regularly to maintain performance.
How Do I Reset My Keurig Coffee Maker Quickly?
Unplug the Keurig, remove the water tank, then plug it back in and add water.
Final Thoughts: Keeping Your Keurig Coffee Maker Running Smoothly
Resetting your Keurig coffee maker can solve many common issues quickly. Simple steps like unplugging, cleaning needles, and descaling help keep it working well. Regular maintenance prevents clogs and improves taste. Always ensure the water reservoir is seated properly and the power source works.
With these tips, your Keurig will brew smoothly again. Enjoy fresh coffee without hassle every day. Try these steps next time your machine acts up. Easy fixes save time and frustration. Keep your Keurig in top shape for great coffee moments.

Hi, I’m Joshua Miller, a U.S.-based food lover, review writer, and Co-founder of KitchenWink.com. I hold a Bachelor of Science in Food Science and Culinary Technology, and for over five years I’ve been testing kitchen gadgets like air fryers, blenders, and other cooking tools.
I’m also a home cook, so every product I review is tried in real kitchens—not just in theory. My reviews are based on real results, simple fixes, and tips that anyone can use. With both formal training and hands-on testing, I make sure my advice is clear, honest, and practical.
My goal is simple: to help home cooks choose the right tools and make cooking easier every day.