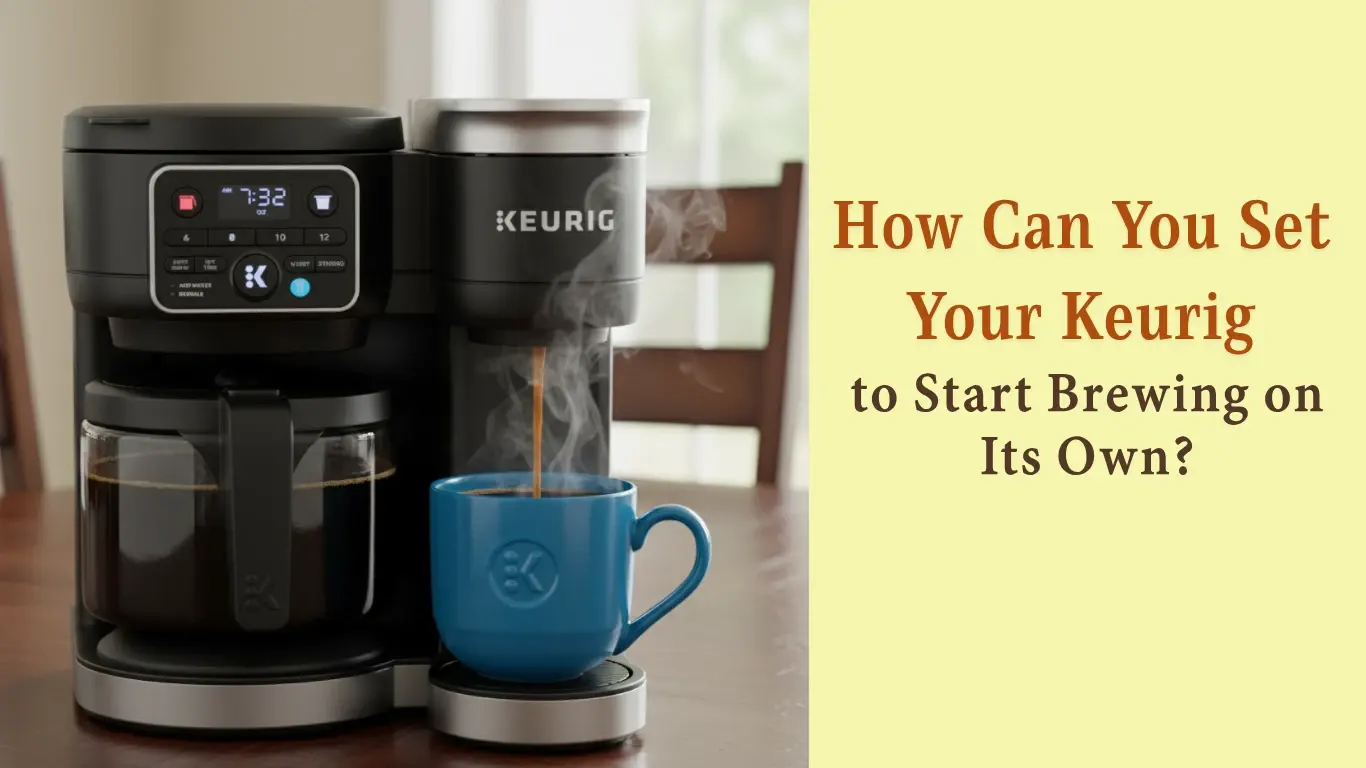
Imagine waking up to the rich aroma of freshly brewed coffee without lifting a finger. Setting your Keurig to auto brew makes this dream a reality, turning your mornings into a seamless, energizing experience.
If you’ve ever wished your coffee machine could start brewing exactly when you want it, you’re in the right place. In this guide, you’ll learn simple, step-by-step instructions to program your Keurig for automatic brewing. By the end, you’ll never have to wait for your first cup again—your perfect brew will be ready and waiting for you every single morning.
Ready to transform your coffee routine? Let’s dive in!
Step 1: Prepare Your Keurig for Auto Brew
Preparing your Keurig is the first step to enjoy fresh coffee automatically. This process ensures your machine is ready to brew at the set time. Follow simple steps to get your Keurig ready for auto brew.
These easy preparations help avoid any interruptions in your morning routine. A well-prepared machine guarantees a perfect cup every time.
Fill the Water Reservoir with Fresh Water
Open the water reservoir lid carefully. Fill it with fresh, clean water up to the MAX line. Avoid overfilling to prevent spills. Check the reservoir is seated correctly in its base. This step is crucial for a smooth brewing cycle.
Insert Coffee Pod or K-Cup for Brewing
Lift the Keurig handle to open the brew chamber. Insert your favorite coffee pod or K-Cup. Make sure it fits snugly inside. Close the handle firmly to secure the pod. This prepares the machine to brew your chosen coffee flavor.
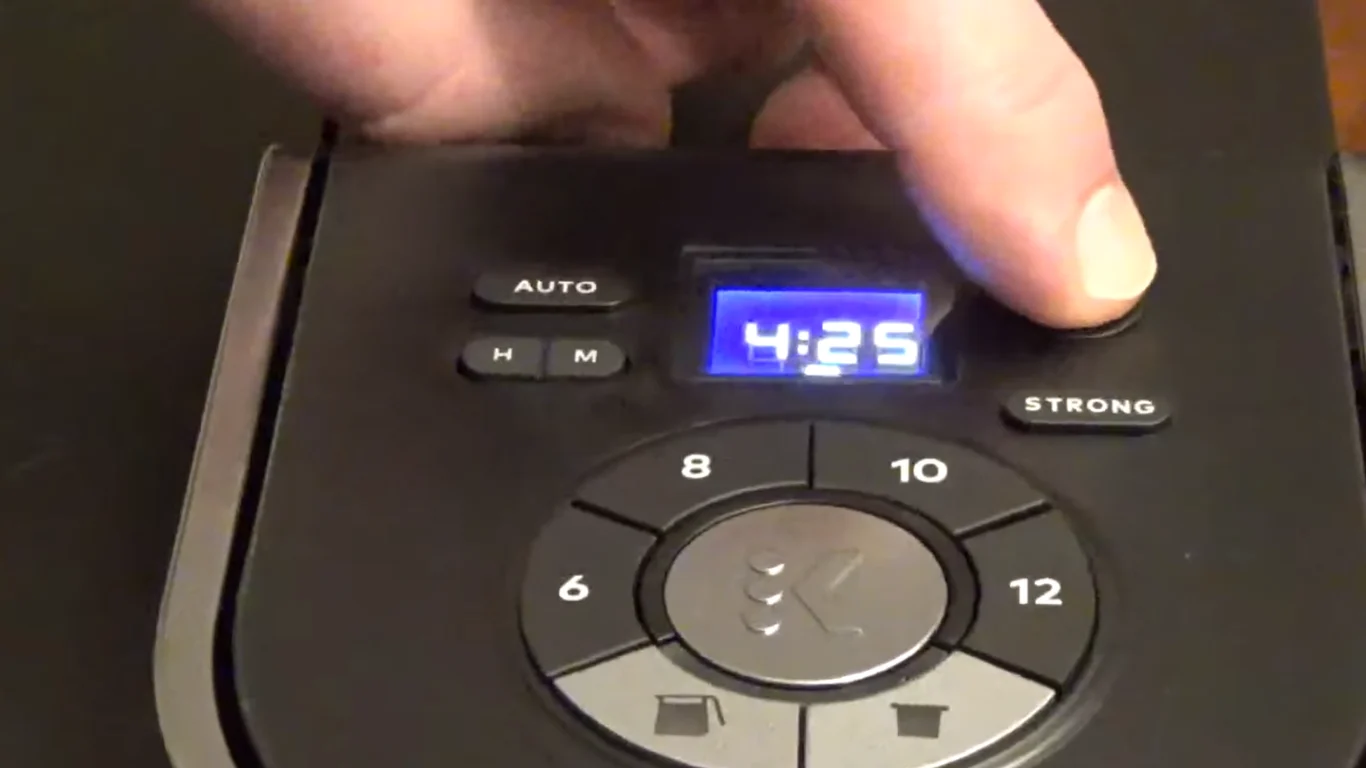
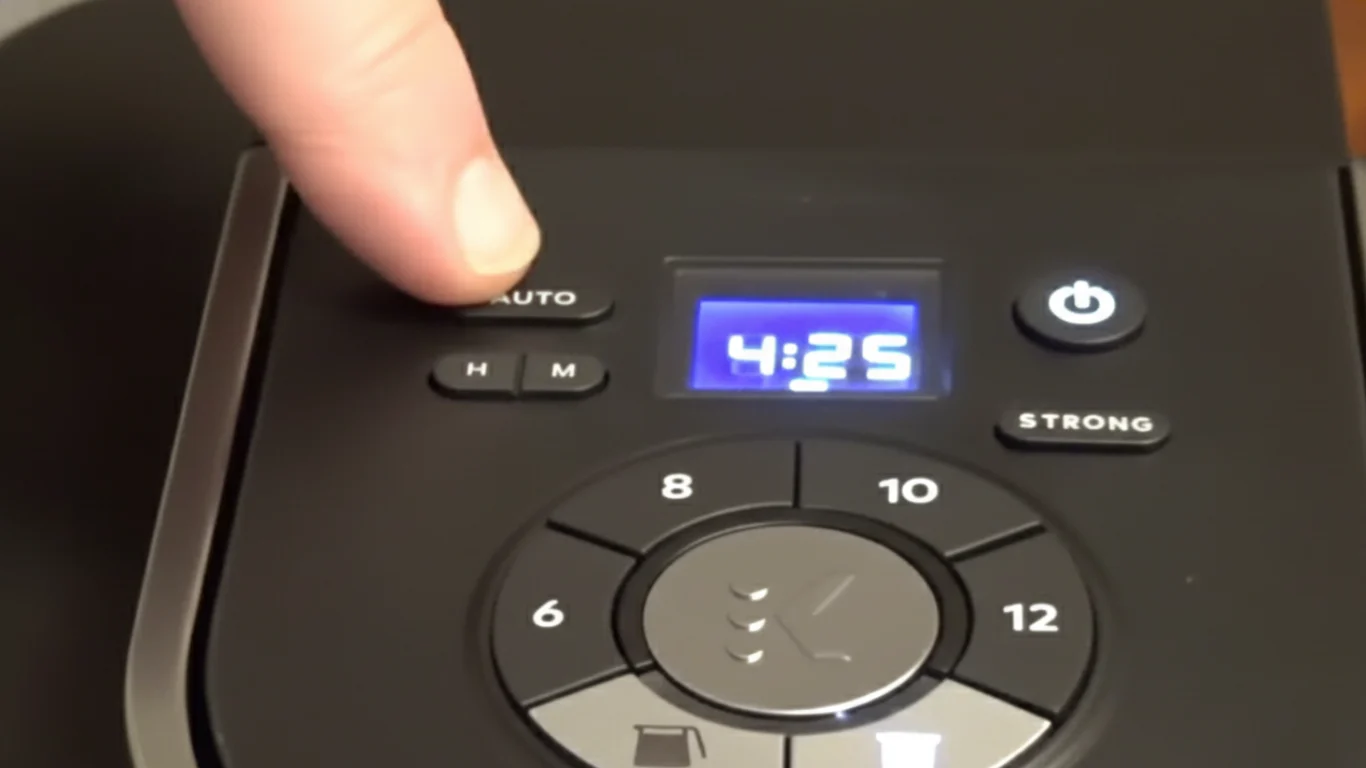
Turn On Your Keurig and Set the Clock Correctly
Press the power button to turn on your Keurig. Wait for the display to light up. Use the hour and minute buttons to set the current time. Setting the clock is essential for the auto brew feature to work correctly. Confirm the time by pressing the appropriate button.
Step 2: Activate the Keurig Auto Brew Feature
Setting your Keurig to auto brew saves time and starts your day smoothly. This feature lets your machine brew coffee at a chosen time without pressing buttons each morning. Follow simple steps to activate auto brew on your Keurig.
Make sure the water reservoir is full and a coffee pod is in place before starting. The clock on your Keurig must show the correct current time. Now, let’s activate the auto brew function.
Press the AUTO Button to Begin Programming
Locate the “AUTO” button on your Keurig’s control panel. Press this button once. The clock on the display will begin to flash, signaling that you can set the brew time. This step activates the auto brew mode.
Set Your Preferred Brew Time on the Keurig Display
Use the hour and minute buttons to set your desired brew time. Press the hour button to select the hour. Then press the minute button to set the exact minute. Adjust the time carefully to match when you want your coffee ready.
Confirm the Brew Time to Enable Auto Start
After setting the time, press the “BREW” button to confirm your selection. The flashing will stop, and the clock icon will appear on the display. This icon shows the auto brew feature is active and ready to start brewing at the set time.
Step 3: Select and Save Your Keurig Brew Size
Selecting the right brew size is an important step in setting your Keurig to auto brew. This choice controls how much coffee you will have ready at your set time. It allows you to customize your morning coffee exactly how you like it. Follow the simple steps below to choose and confirm your brew size for automatic brewing.
Choose Your Preferred Cup Size for Auto Brew
Press the brew size button on your Keurig. Options usually range from small to large cups. Pick the size that matches your usual coffee cup. This size setting will repeat for every auto brew session. Make sure the cup size fits your mug to avoid spills.
Confirm Your Keurig Brew Size Selection
After selecting your size, press the “Brew” button. The machine will save your choice for the auto brew schedule. A confirmation light or icon will appear on the display. This confirms your brew size is set and ready. Now your Keurig will brew the perfect cup at the set time.

Credit: www.amazon.com
Step 4: Manage or Adjust Your Keurig Auto Brew Settings
Managing your Keurig’s auto brew settings helps you control when your coffee starts. This feature saves time and ensures a fresh cup is ready as you want it. Adjusting these settings is simple and quick.
Follow the steps below to check if auto brew is active or to cancel it when needed. Keep your coffee routine smooth and hassle-free.
Check If Keurig Auto Brew Is Active
Look at your Keurig’s display screen. If the clock icon is visible, auto brew is active. Press the “AUTO” button to see the set brew time. Use the hour and minute buttons to review the schedule. Confirm the time by pressing “BREW”. This ensures your machine will start brewing automatically at the set time.
How to Cancel or Turn Off Keurig Auto Brew
To cancel auto brew, press the “AUTO” button once. The clock icon will disappear from the screen. This means the auto brew feature is turned off. Your Keurig will now only brew when you manually press the brew button. This option is useful if you want to change your coffee routine for the day.
Expert Tips for Smooth and Reliable Keurig Auto Brewing
Setting your Keurig to auto brew saves time and ensures fresh coffee every morning. To enjoy smooth auto brewing, follow some simple tips. These tips help your machine work well and avoid common issues.
Regular Maintenance
Clean your Keurig regularly to avoid clogs and bad taste. Remove and wash the water reservoir weekly. Run a descaling cycle every few months to clear mineral buildup. Keep the needle that punctures pods clean for proper brewing. Regular care keeps your coffee tasting great and your machine running smoothly.
Always Use Fresh Water for Better Coffee Flavor
Always fill the water reservoir with fresh, cold water. Avoid using water that has been sitting for a long time. Fresh water improves the coffee flavor and reduces the chance of machine problems. Change the water daily if you do not brew often. Clean water makes each cup taste better.
Ensure Proper Pod Placement to Avoid Brewing Errors
Place the coffee pod correctly in the holder before starting auto brew. Make sure the lid is closed firmly to avoid leaks. Use pods that fit your Keurig model for the best results. Incorrect pod placement can cause errors or weak coffee. Checking placement helps your machine brew without interruption.
FAQ’s: Keurig Auto Brew Setup & Troubleshooting
How Do I Set The Auto Brew On My Keurig?
Fill the water reservoir and insert a K-Cup or coffee grounds. Set the clock correctly. Press “AUTO,” set brew time with hour and minute buttons, then press “BREW” to confirm. Choose brew size and press “BREW” again. A clock icon confirms auto-brew is active.
Can You Schedule A Brew On Keurig?
Yes, you can schedule a brew on Keurig. Set the clock, press “AUTO,” select brew time, confirm with “BREW,” and choose brew size. A clock icon confirms the schedule.
How To Use Keurig Auto Off Set?
To set Keurig auto off, press the cog button until the auto off option appears. Use hour and minute buttons to set the desired shut-off time, then press the cog button again to confirm. The machine will automatically turn off at the set time.
Can You Set A Keurig To Start At A Certain Time?
Yes, you can set a Keurig to start at a certain time. Press “AUTO,” set the hour and minute, confirm with “BREW,” then select brew size. A clock icon confirms the auto-brew is active. Ensure the clock is correctly set before programming the auto-start feature.
How Do I Set The Auto Brew Time On My Keurig?
Press the “AUTO” button, set hour and minute, then press “BREW” to confirm.
Final Thoughts: How to Set Keurig to Auto Brew?
Setting your Keurig to auto brew saves time every morning. Make sure the clock shows the correct time first. Choose your preferred brew size and set the start time carefully. The clock icon confirms your settings are saved. Remember to keep the water reservoir filled before brewing.
This simple routine helps you enjoy fresh coffee without waiting. Practice a few times to feel comfortable with the steps. Soon, your Keurig will have your coffee ready when you want it. Simple, easy, and convenient.

Hi, I’m Joshua Miller, a U.S.-based food lover, review writer, and Co-founder of KitchenWink.com. I hold a Bachelor of Science in Food Science and Culinary Technology, and for over five years I’ve been testing kitchen gadgets like air fryers, blenders, and other cooking tools.
I’m also a home cook, so every product I review is tried in real kitchens—not just in theory. My reviews are based on real results, simple fixes, and tips that anyone can use. With both formal training and hands-on testing, I make sure my advice is clear, honest, and practical.
My goal is simple: to help home cooks choose the right tools and make cooking easier every day.